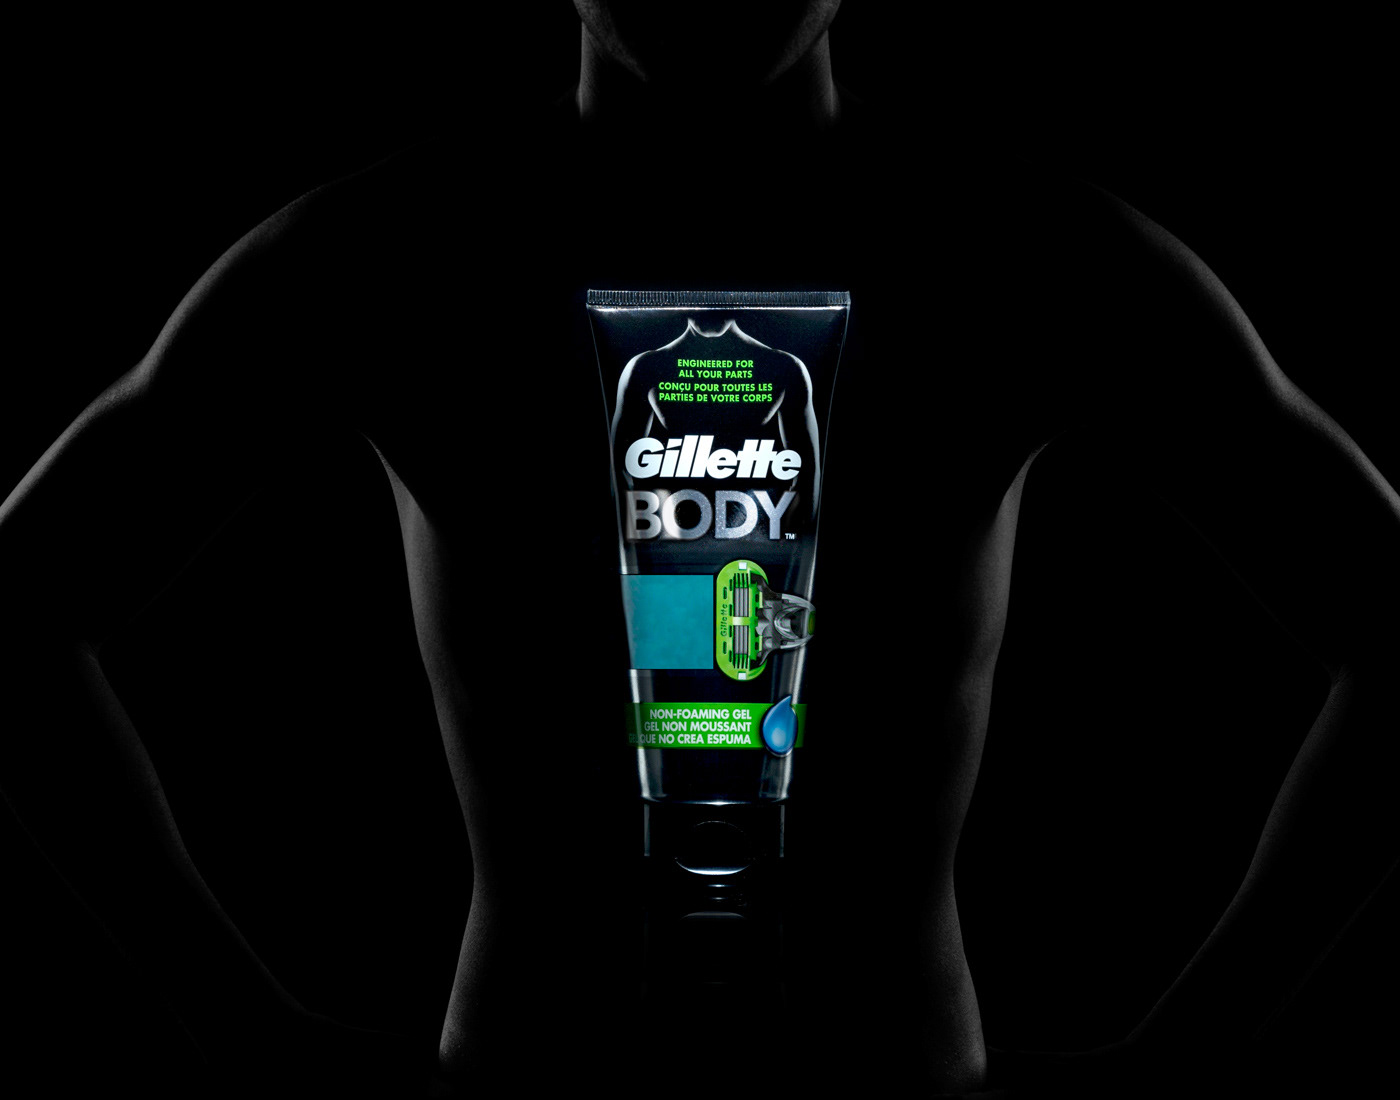
GILLETTE PRODUCT SHOT
Photography, Retouching
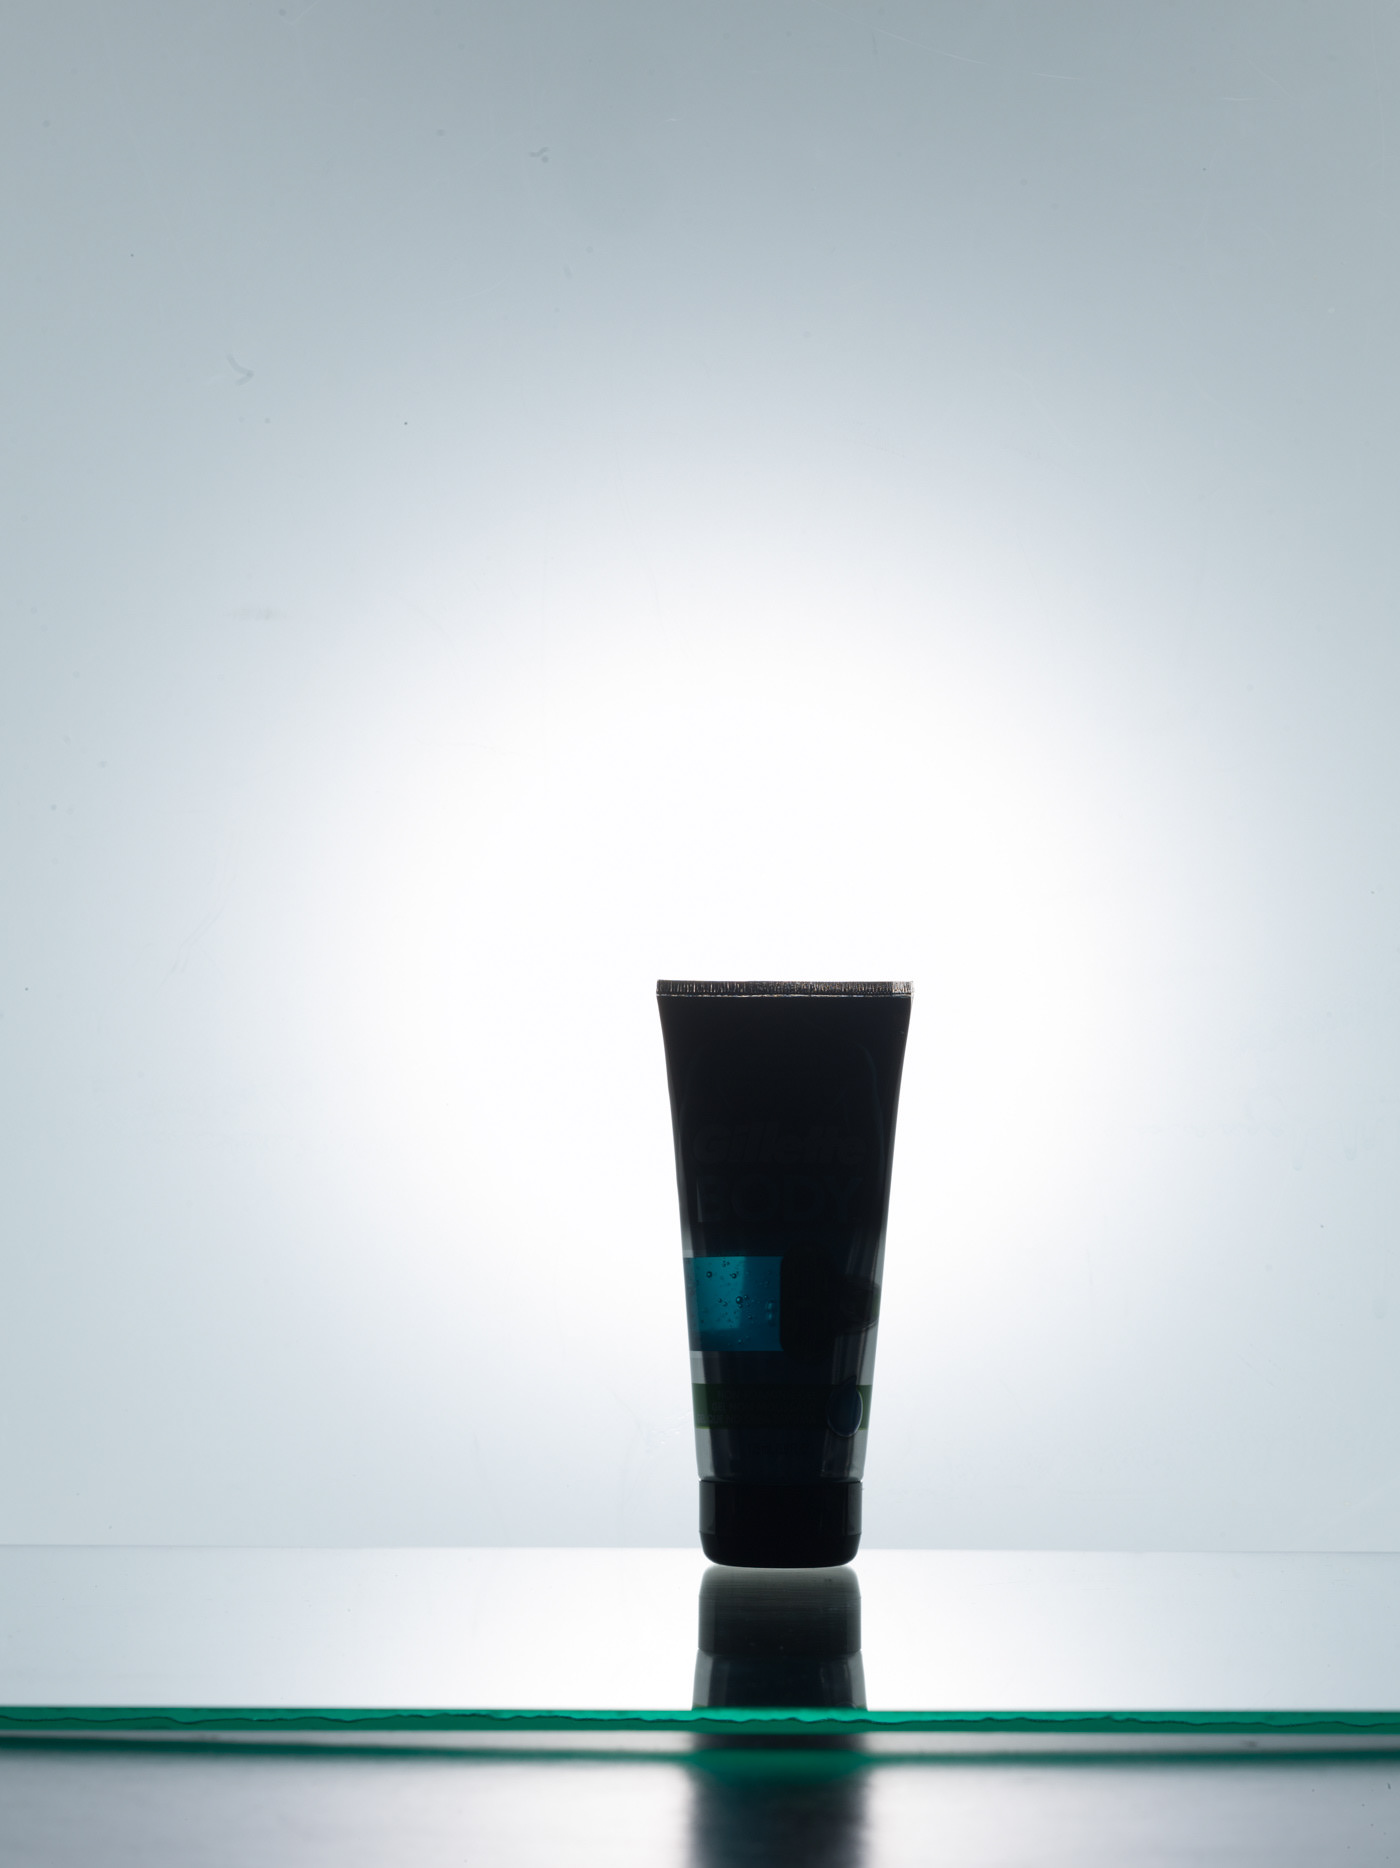
Started this off by first lighting parts of the tube using different lighting positions and techniques to bring out key elements the have to be shown.
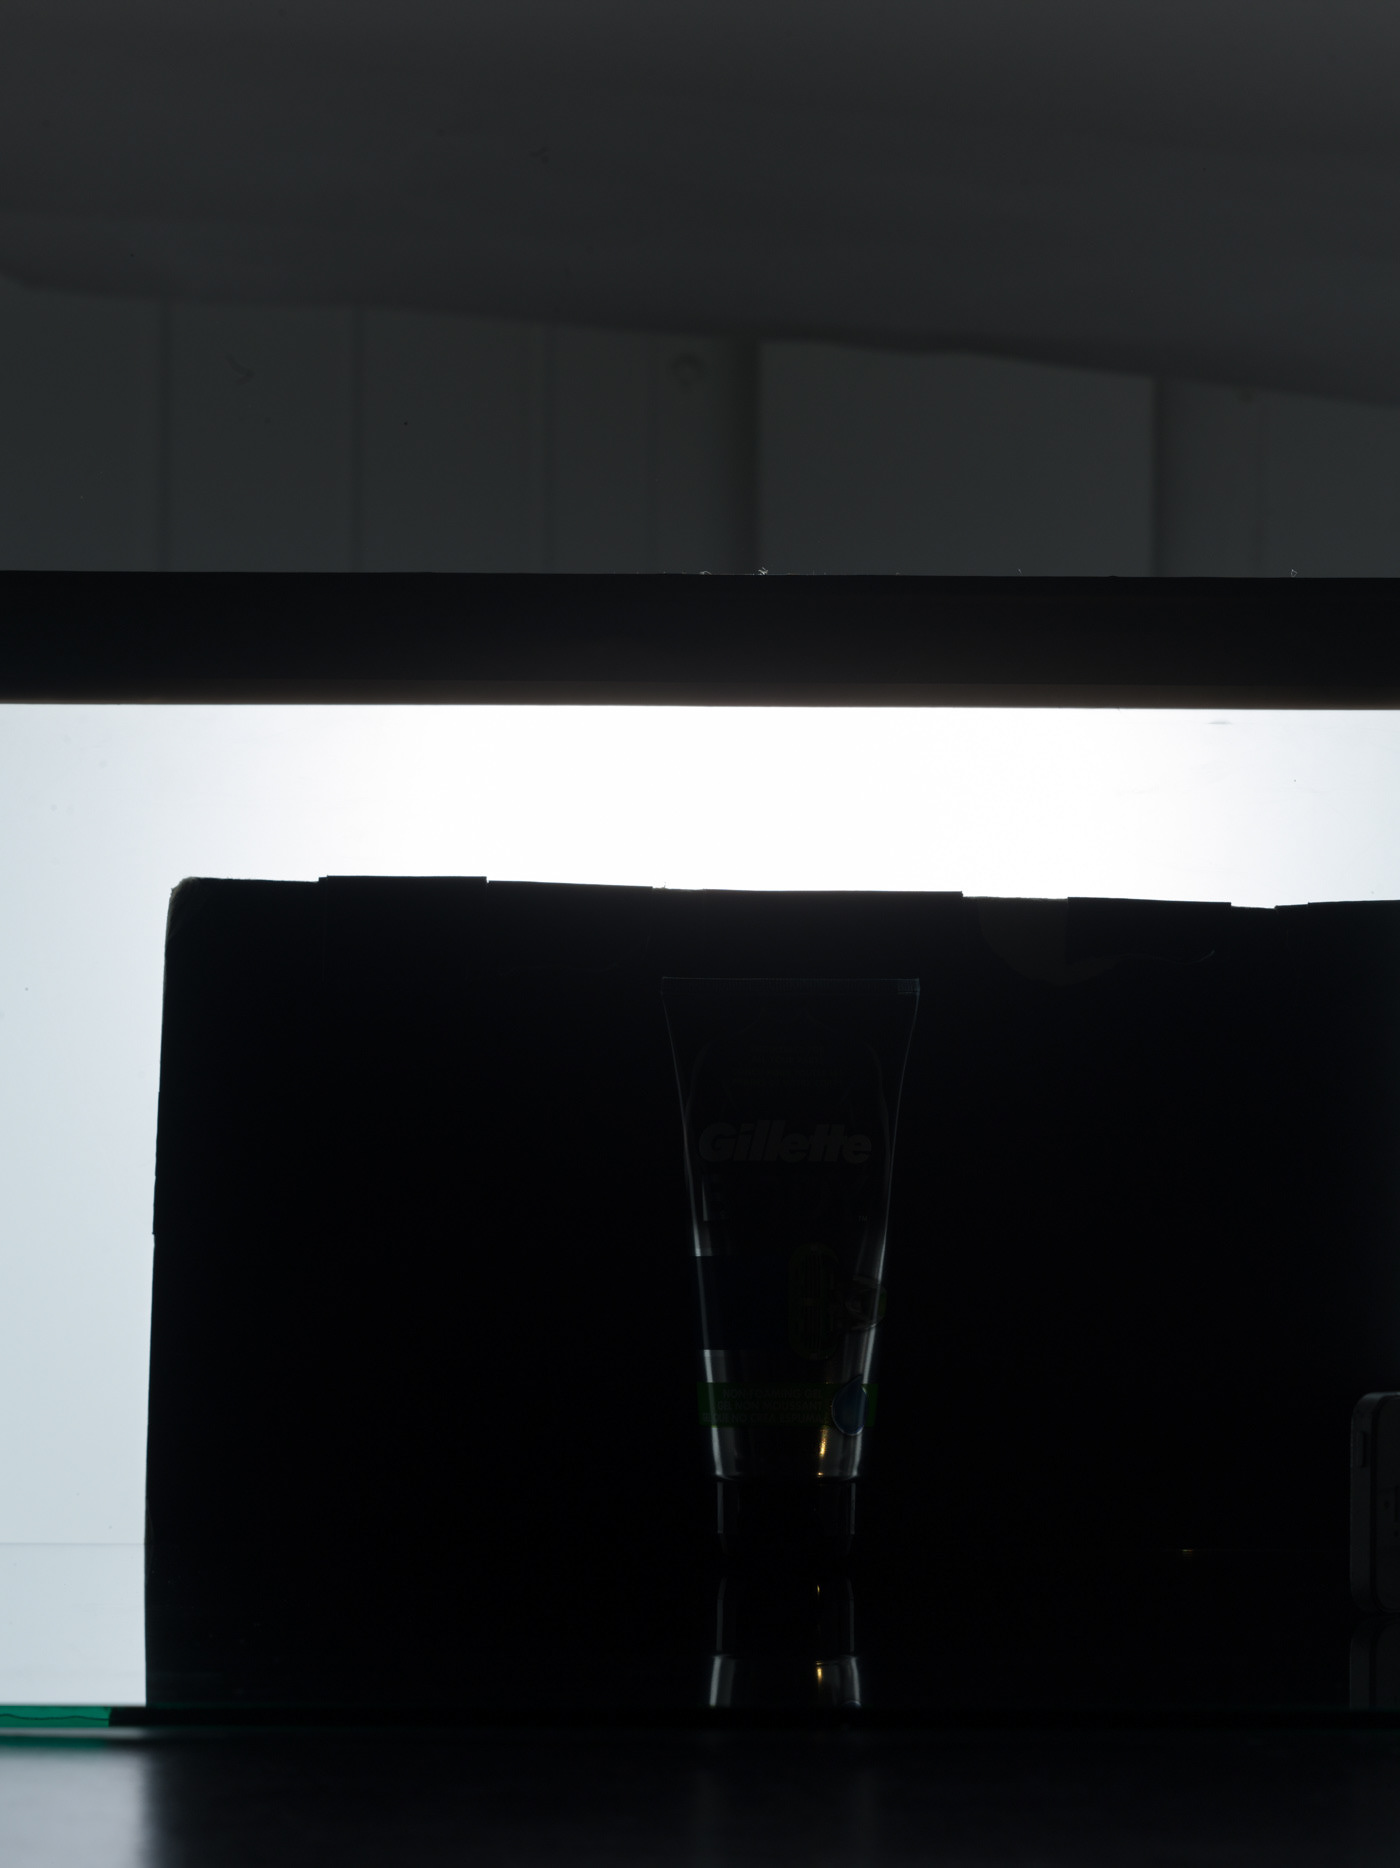
One of the first things you notice is the transparent section on one side of the tube revealing to you the blue color of the gel inside. We take a shot just for this lighting the tube from the back only in order to illuminate the gel.
Gel Shot
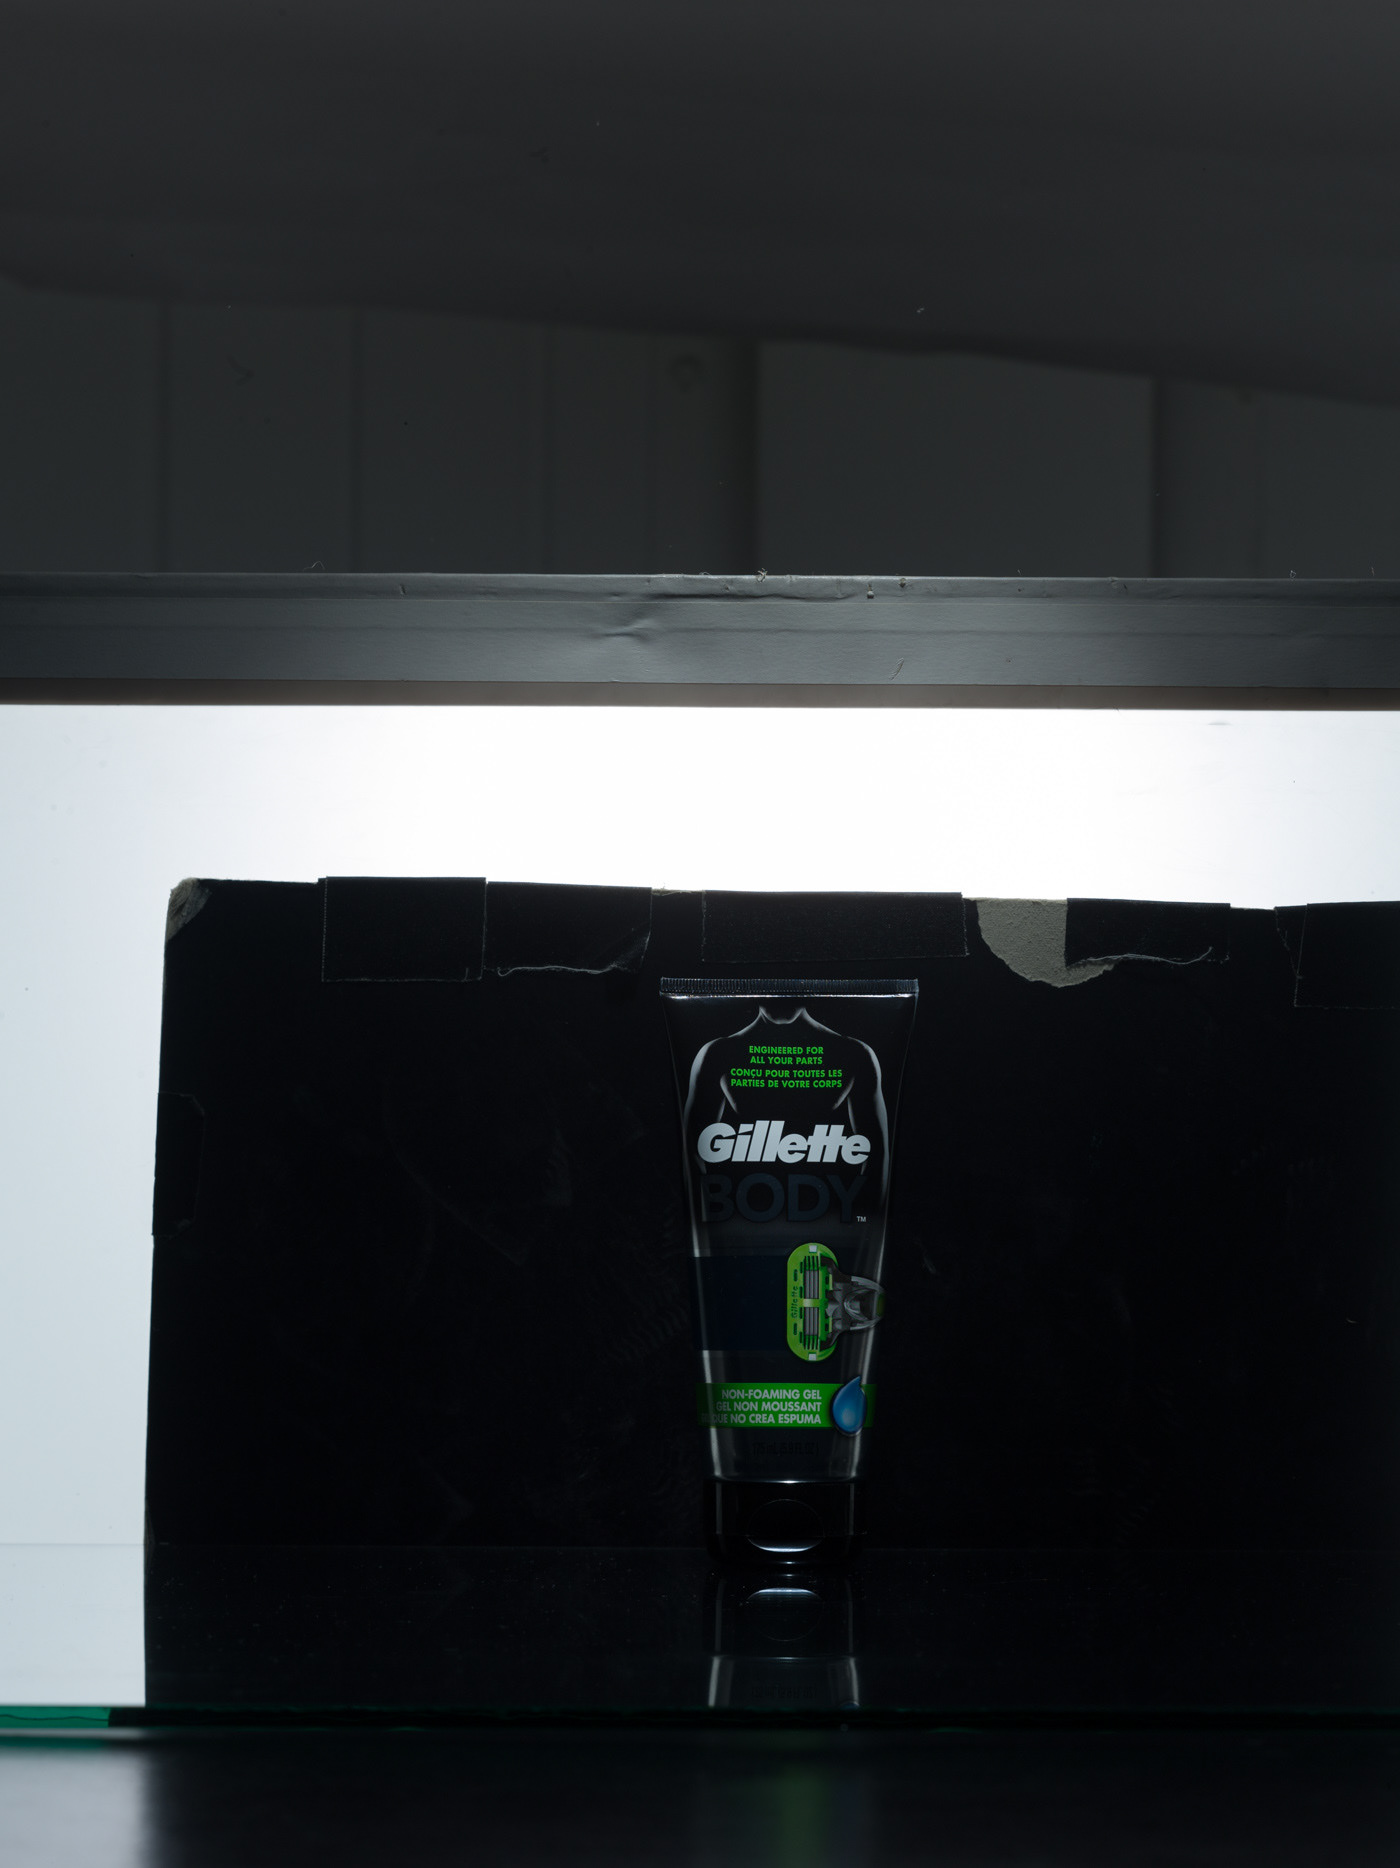
After we get that shot, we now shoot to get the outline of the tube. We do this by placing a black card in-between the tube and the light source. What this does is it blocks light from hitting the tube directly from behind and only the light escaping from the sides of the black card is what lights up the outline of the tube.
Outline Shot
We then add a second light above the tube facing downwards to give us highlights on the the bottom part of it as well as the on the lid. We maintain the light source at the back and the black card for the tube outline.
Highlights
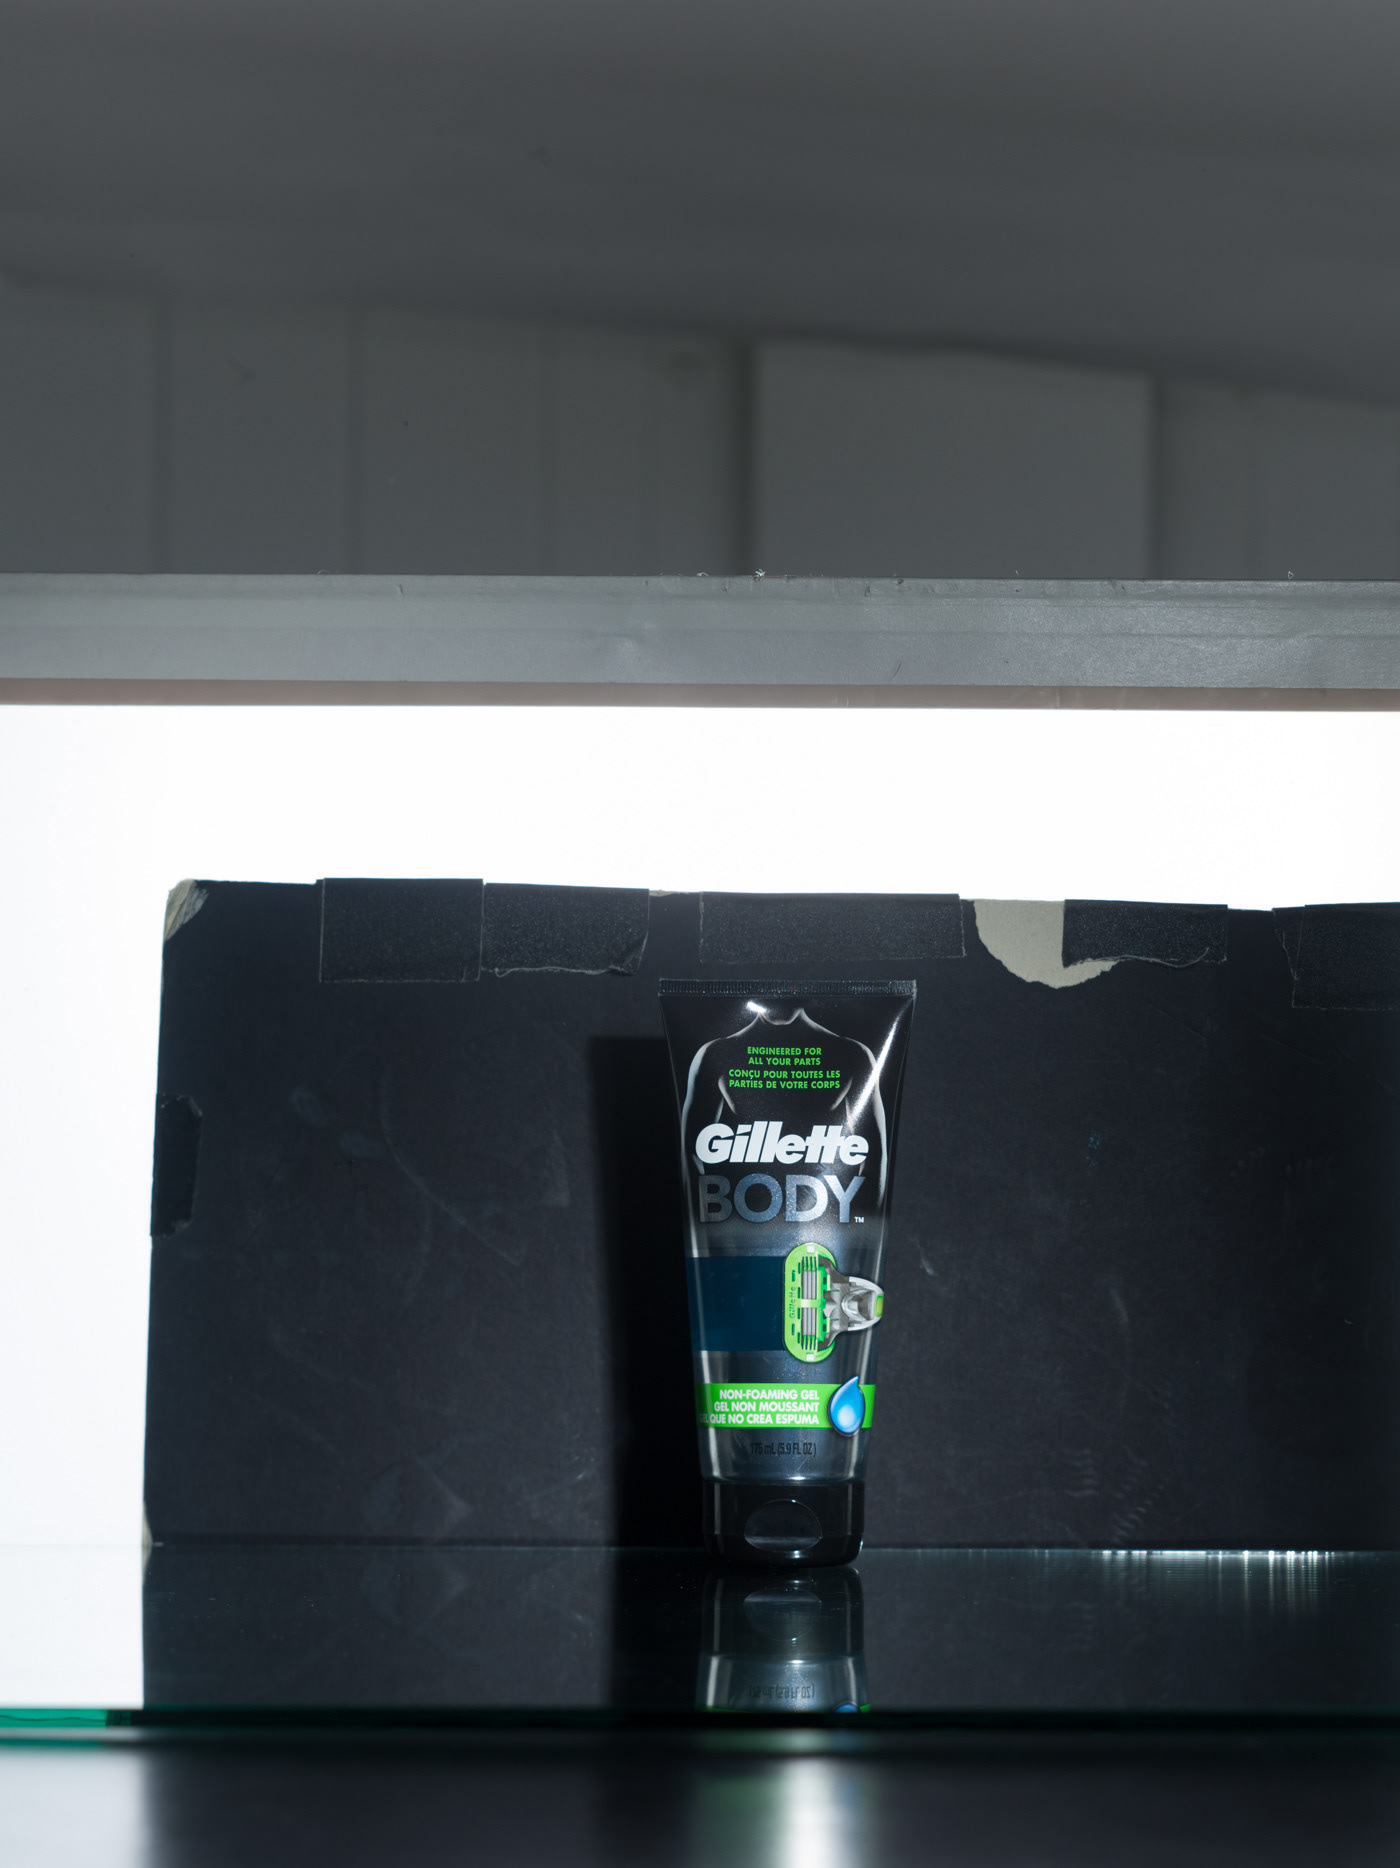
At this point we then move our second light to the front of the tube so we can capture the detail on the front of the tube.
Front Detail Shot
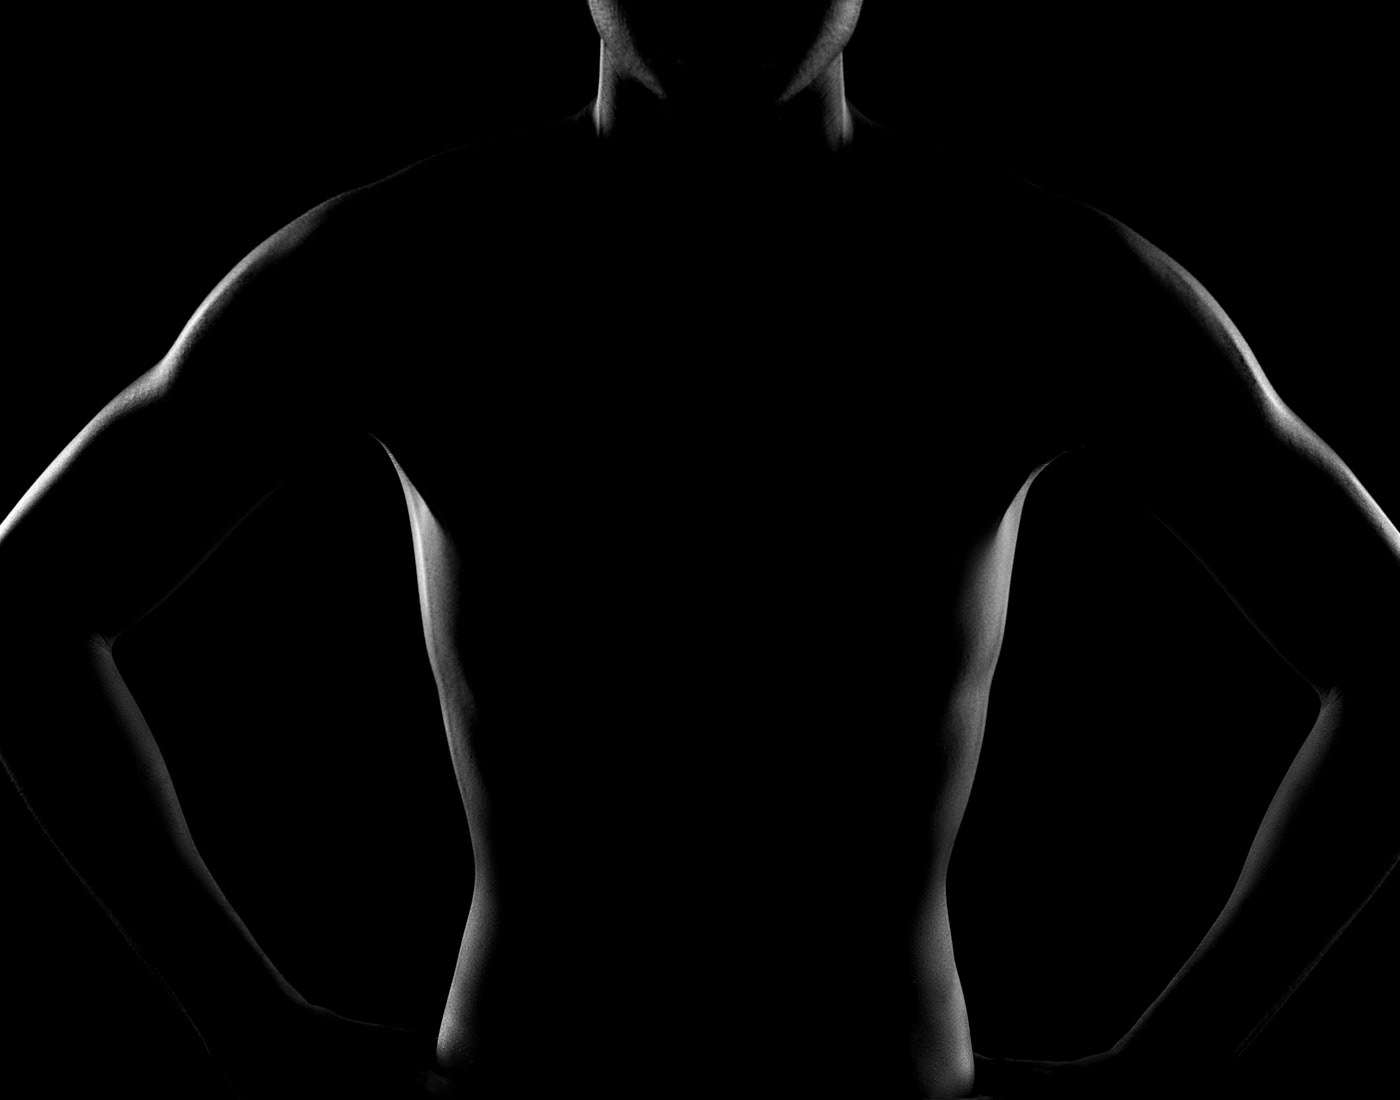
Now that we have all our shots of the tube, we then move to the portrait studio to capture body outline shots of a person taking from the body outline we see on the face of the tube.
We achieve this by using a low-key lighting setup with both our lights placed on both left and right behind the subject.
Body Outline
We Then combine all our images in post production to get our final shot.
Final Shot